Start typing and press enter to search

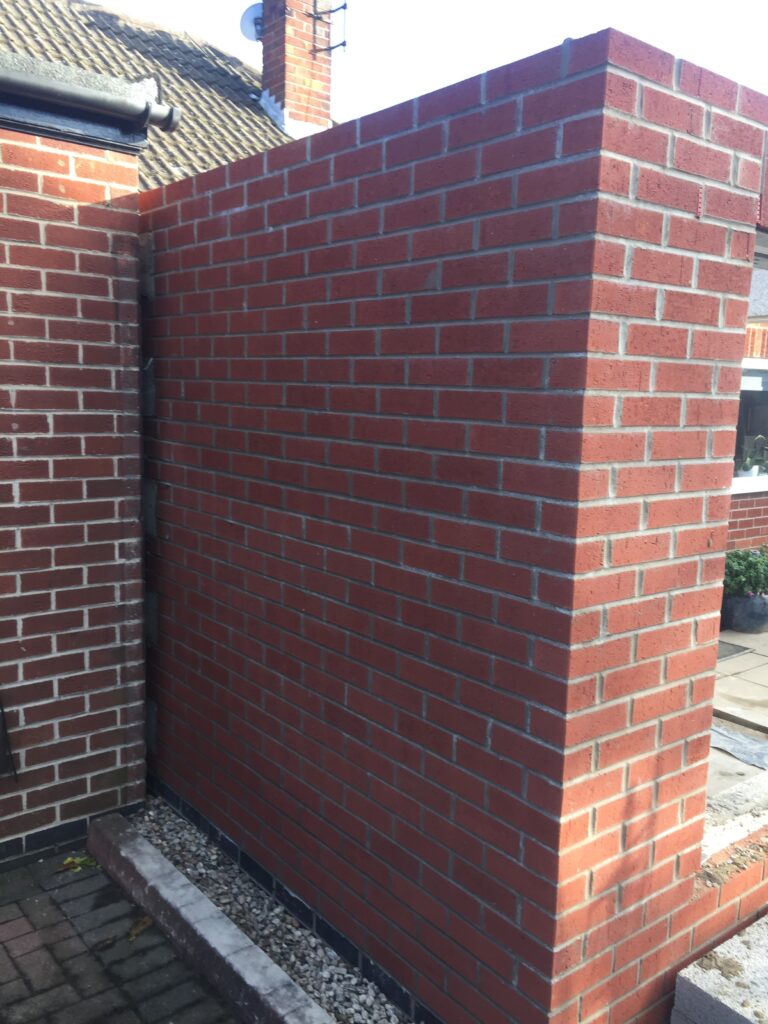
Photo of a bricklayed wall

Bricklaying 101 With Kieron

This new blog post is all about how to lay bricks properly, and efficiently.

For a little context about this building; it is constructed with steel and cast with concrete. This is also the main structure of the building and the bricks are basically a cladding to cover up the concrete building. The bricks are then tied to the concrete building with wall ties to make the bricks one with the concrete structure. So, this brick work is essentially a feature. As this is a big apartment building and as you can imagine, this means that I have a lot of bricks to lay, I thought to myself, why not do a little tutorial whilst I’m laying the bricks so I can show you all how to do it? This blog has two parts to it:

  1. How To Lay Bricks 101
  2. How To Point Up Like A Pro

How To Lay Bricks 101:

To become a skilled bricklayer, I worked hard to become the quality bricklayer that I am now. My career started as an apprenticeship and I spent several years training in different construction companies. I also built my experience through working on earthquake-damaged properties in New Zealand. I’ve been in the industry for 15 years and now I can confidently say that my work is always top quality. So, here’s how to lay bricks like the grandmaster!

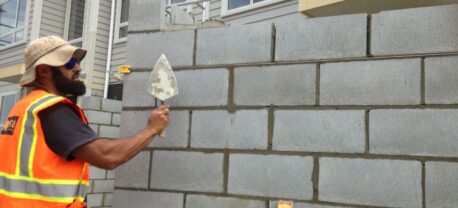
  1. Using your trowel, spread a bed of mortar on top of the bricks.
  2. You will then scrape your trowel along the back arris of the brick to stop mortar going into the cavity then, even the bed of mortar, putting a thurow through the middle. This allows the brick to sit evenly on the bed of mortar.
  3. With your trowel, put a cross joint on the head of the brick.
  4. Now, lay the bricks on top of the mortar that you have just spread, to a brick line, scraping away any excess mortar as you rub the brick down to the line.
  5. A good bricklayer will rub his brick to the line instead of smashing it down with his trowel.
  6. Carry out this process until the wall is built.

How To Point Up Like A Pro:

Repointing brickwork basically involves putting mortar into the joints between the individual bricks. This can maintain and protect the bricks from problems such as damp. Repointing the bricks properly will mean that the structure is much more sound and will last longer. Luckily, I’m a repointing pro so all of my work will last a long time! Here’s how to do it.

  1. Firstly get a little mortar on your trowel.
  2. Start taking a little bit of mortar off with a tool called a jointer.
  3. After you’ve got a little mortar on your jointer, start running the jointer over the mortar joints, doing this will make the joints full and also give it a half round finish.
  4. The best bricks to start on are the perpends (perps as I call them in the video). Perps are the vertical joins between the bricks that have been laid horizontally to form the wall.
  5. After doing the vertical joints, now it’s time to do the bed joints. These are the horizontal mortar joints in the wall.
  6. Now, we top and tail! This is where we go over the top and bottom of the joints one more time to make sure the finished wall is neat and tidy.
  7. The final stage is to give the wall a brush. My preferred choice is a nice and soft horsehair brush as I think it gives a good finish to the brickwork.

And there we have it! A wallpaper finish.

Check out my portfolio to see all the projects that I’ve worked on. If you have a project in mind or just want to get in touch, contact me today.
By Kieron on 17/11/2020 in General

Related Posts